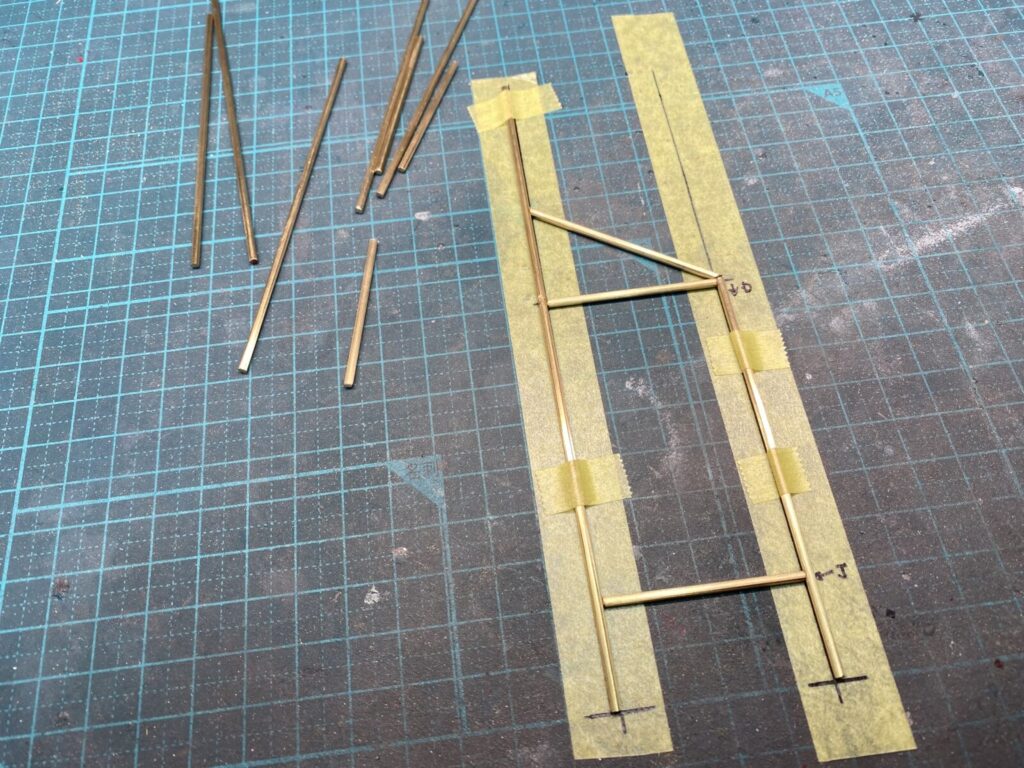
いよいよ製作記も最終回となります。
今回はタイヤラックを自作していきます。真鍮棒を所定の長さに正確に切り出し、フィッティングや位置関係を確認するために仮組みを行いました。
This is the final installment of the project.
This time, I will be scratch-building the tire rack. After carefully cutting the brass rods to the required lengths, I carried out a test assembly to confirm the fit and alignment.
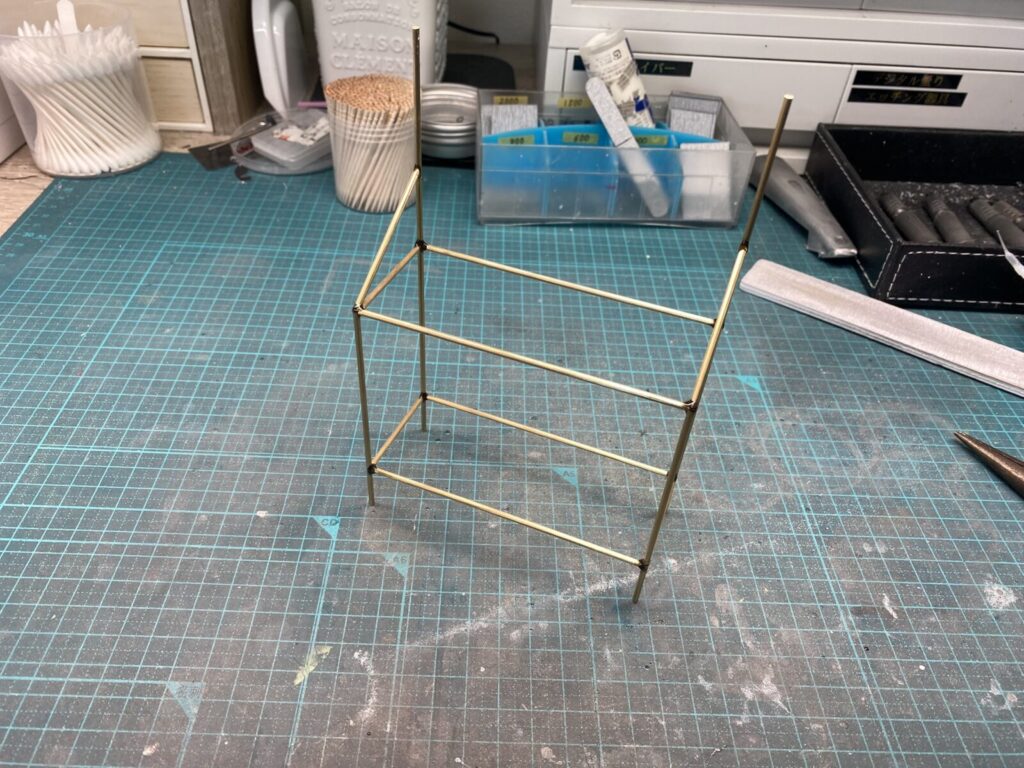
仮組み後、角度に注意しながら全体を組み上げていきます。組み上げ後にプライマー処理を行います。
After the test fit, the frame is assembled while carefully checking the angles. Once assembled, a primer coat is applied.
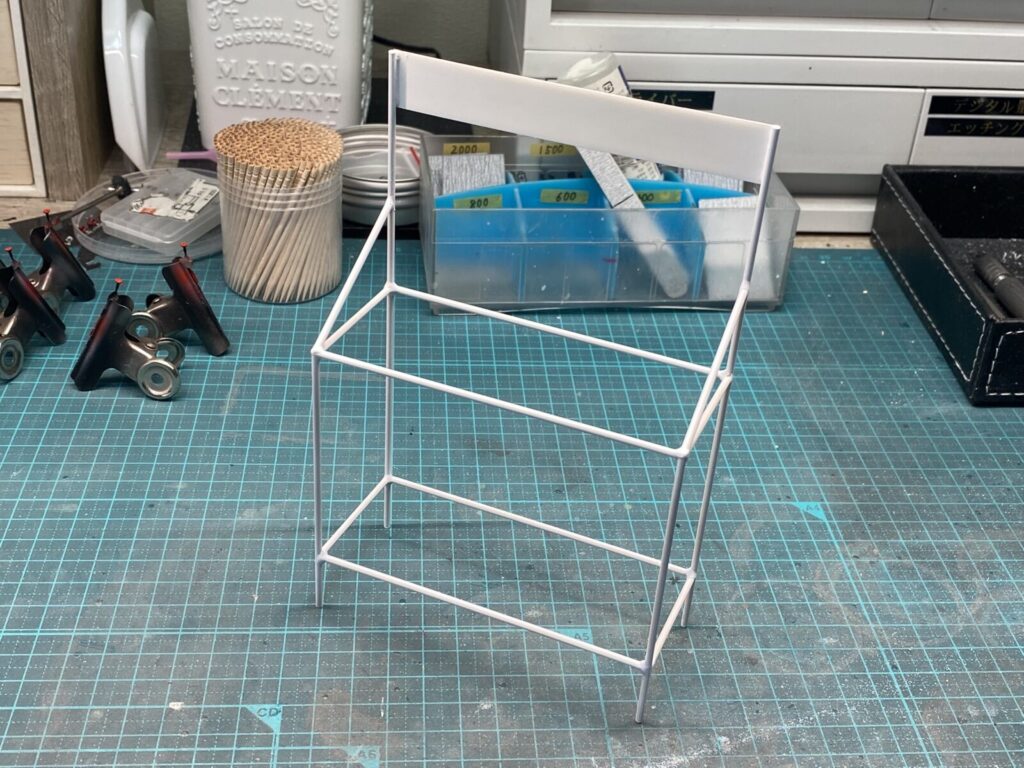
プライマーが乾いたら、ホワイトサフで下地を作ります。
Once the primer has dried, a white surfacer is applied to prepare the base.
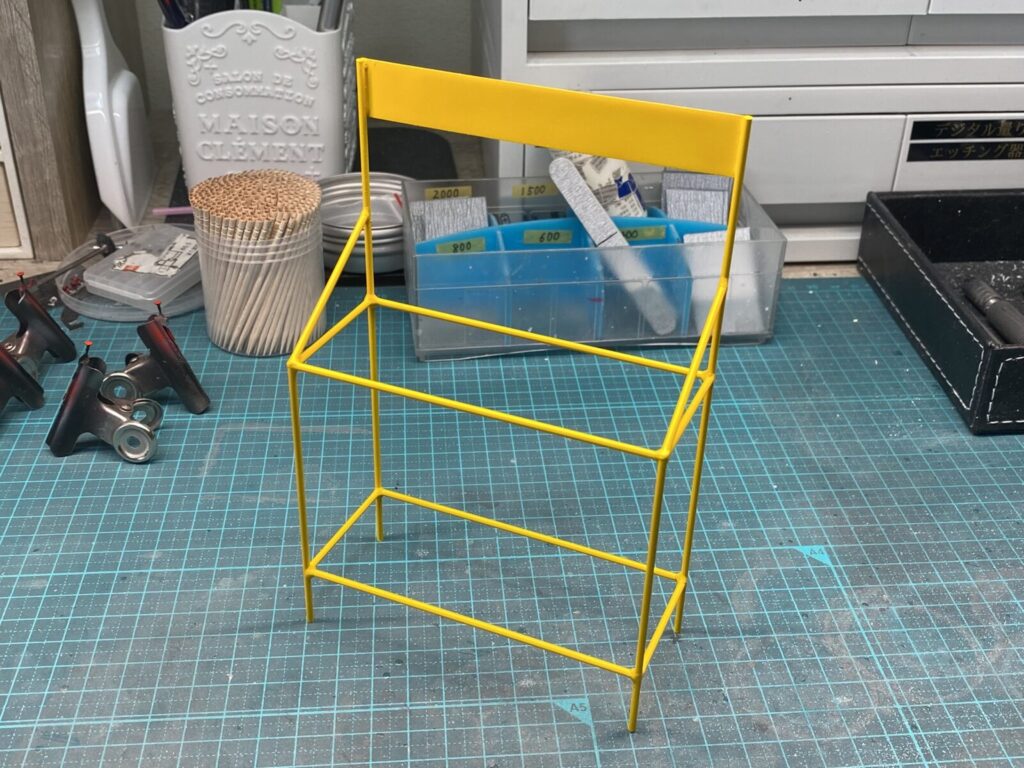
今回はフェラーリのエンブレムカラーをイメージしてイエローで仕上げる事にしました。
For this build, I chose a yellow finish inspired by the iconic Ferrari emblem.
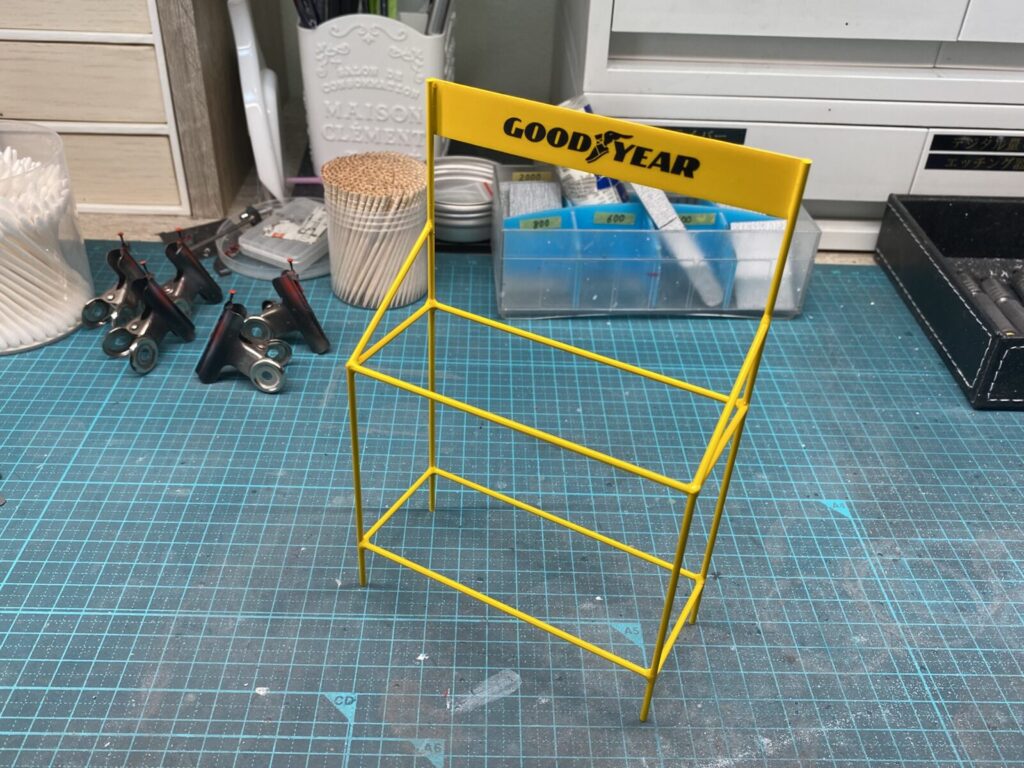
グッドイヤーのデカールを貼り、数日間しっかりと乾燥させます。その後、クリアーコートで仕上げます。
The Goodyear decals were applied and allowed to dry thoroughly for several days. After that, the tires were finished with a clear coat.
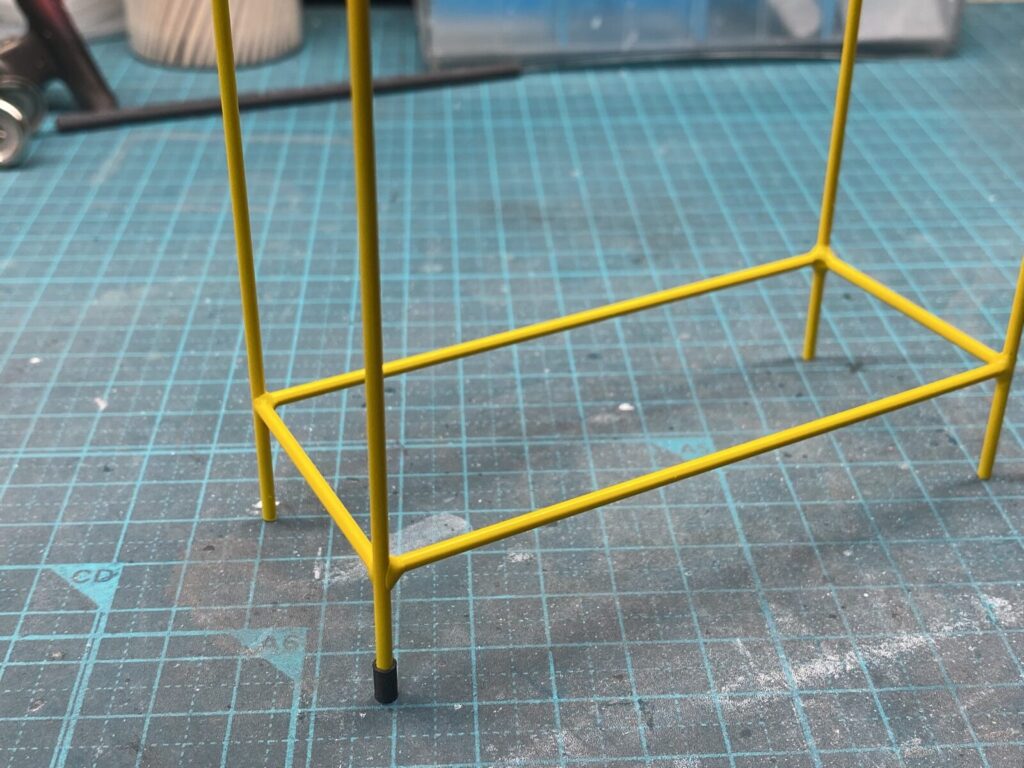
最後に接地部分の脚をゴム製のパッドのように仕上げ、タイヤラックの完成です。
To complete the tire rack, the feet were finished with a rubber-like texture to represent the rubber pads used on the real item.
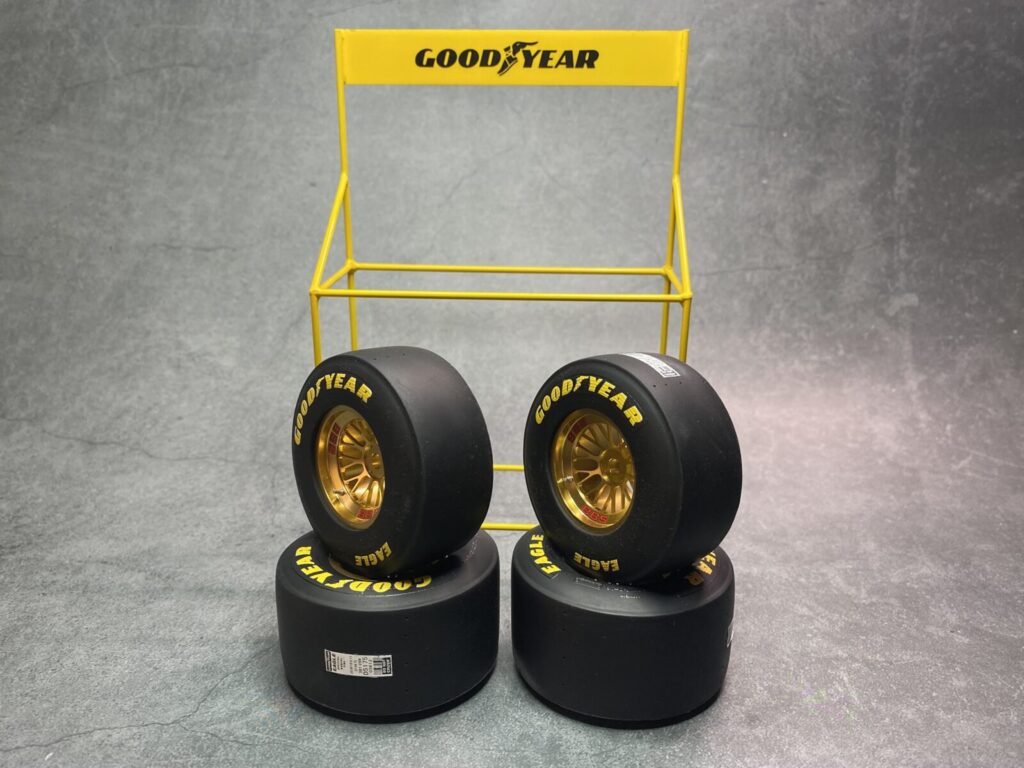
タイヤラック完成画像1
Completed Tire Rack – View 1
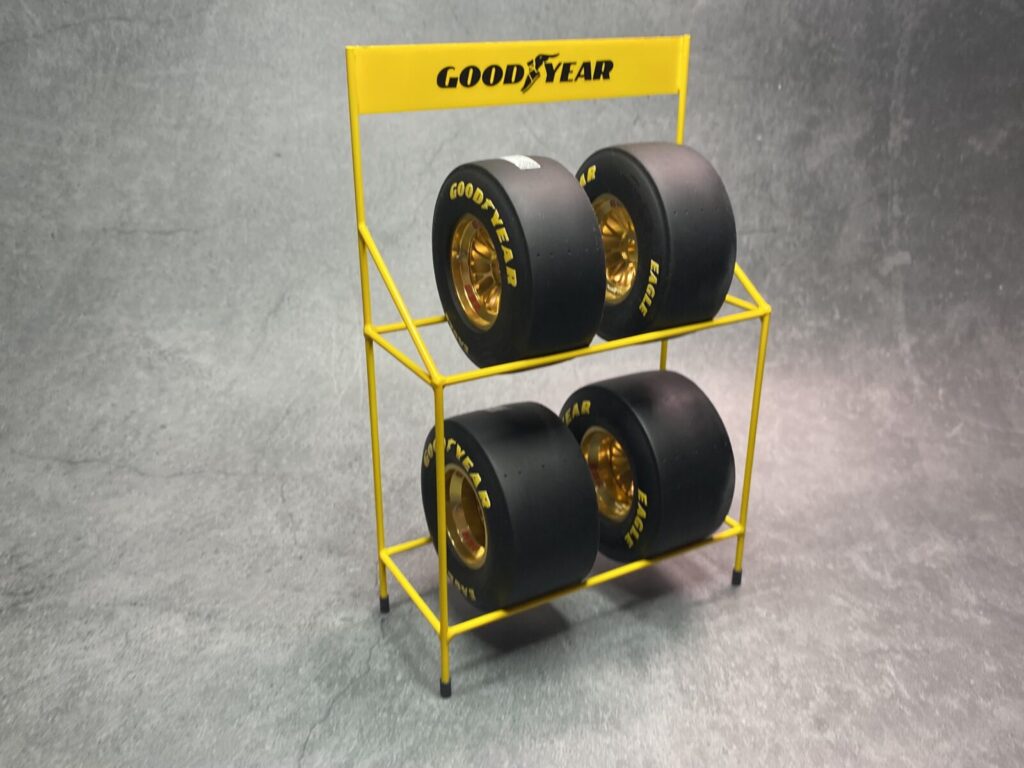
タイヤラック完成画像2
Completed Tire Rack – View 2
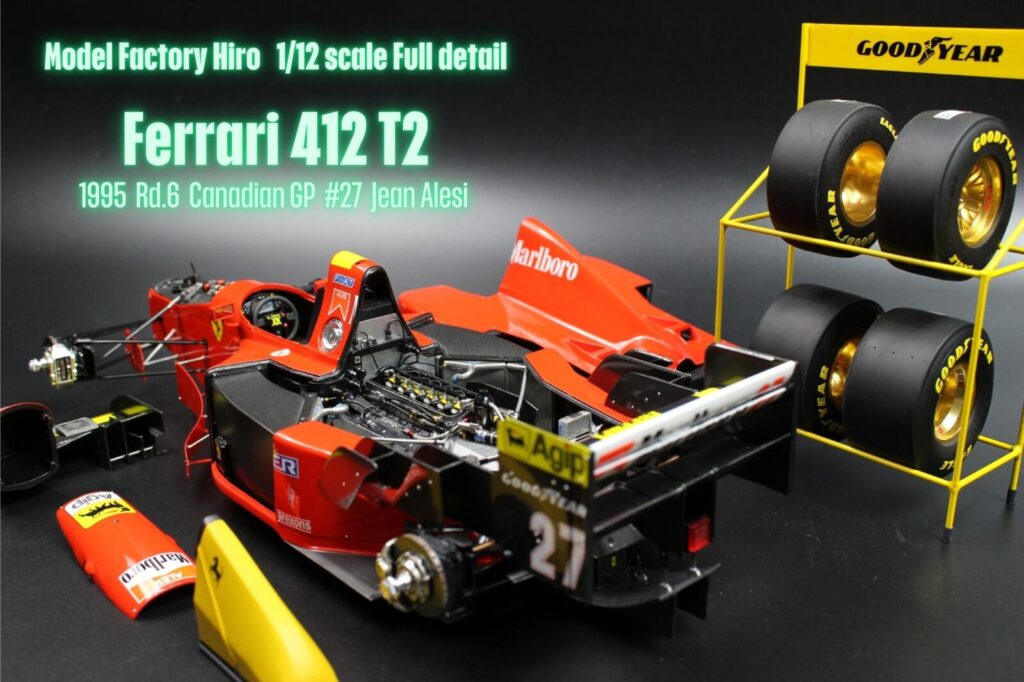
フェラーリ412T2が完成しました。(完成画像1)
The Ferrari 412T2 is finally complete.
Ferrari 412T2 – Completed Model (1)
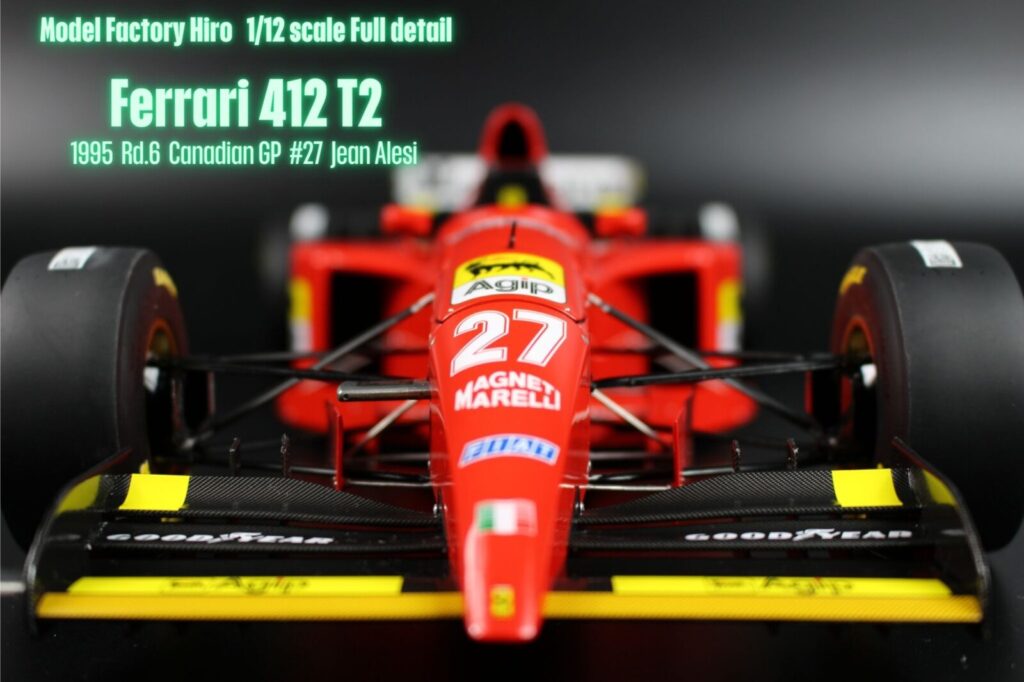
最後までご覧頂きありがとうございました。完成画像2
Thank you for following along with this project until the very end.
Ferrari 412T2 – Completed Model (2)